Seattle Chimney Inspection Checklist: What to Expect
Neglecting your venting system can quietly lead to hidden masonry decay, toxic flue gases spilling into your living space, or even structural failure. In the damp climate of Seattle, minor chimney defects can accelerate rapidly into major safety hazards. Moisture from seasonal rain seepages combined with corrosive combustion byproducts can slowly eat away at your chimney liner and mortar joints from the inside out, completely hidden from view.
Understanding what happens during a professional assessment is key to keeping your home safe. This guide provides a complete chimney inspection checklist, outlining the industry standards defined by the National Fire Protection Association (NFPA) and explaining how local weather conditions dictate specific maintenance needs. By knowing the exact steps involved, you can better prepare your home and recognize when to call in a professional chimney sweep seattle.
Before You Start: Preparation Checklist
To ensure a smooth, efficient, and highly accurate inspection, homeowners should prepare their fireplace area ahead of time. Taking these simple steps helps your technician gain immediate access and protects your home’s interior:
- Clear the hearth: Remove all decorative items, logs, grates, and screens from the fireplace opening.
- Establish a clear path: Move furniture, toys, and rugs at least five to six feet back from the hearth to give the technician room to work with their tools and cameras.
- Allow the system to cool: Do not burn a fire in your fireplace or wood stove for at least 24 hours prior to your scheduled appointment.
- Keep pets secure: Ensure household pets are kept in a separate room during the assessment to avoid any accidental interruptions.
- Gather documentation: Have any past inspection reports, installation records, or invoices from prior local chimney repairs readily available.
Step 1: Visual Assessment of the Firebox and Hearth
The inspection begins in your living room, focusing on the immediate fireplace area. The technician checks the integrity of the firebox, looking for cracked firebricks, deteriorated refractory panels, or failing mortar joints. The hearth extension is also examined to ensure it extends far enough into the room and consists of non-combustible materials, meeting local safety codes designed to protect your floors from stray embers.
Step 2: Damper and Throat Examination
Next, the inspector will open, close, and adjust the damper to check its operation. The damper must form a tight seal when closed to prevent heated indoor air from escaping up the flue when the fireplace is idle. The technician also looks for soot or creosote accumulation in the throat of the chimney, checking for signs of corrosion or warping in metal damper assemblies.
Step 3: Internal Flue Scan via Specialized Cameras
A critical step in a thorough inspection involves using a specialized, high-resolution chimney camera. This device is lowered or pushed through the length of the flue, sending real-time video footage to a monitor. The inspector scans for cracks in clay flue tiles, gaps in mortar joints, or deterioration in metal chimney liners. If significant creosote deposits block the camera’s view of the underlying structure, the technician will recommend a comprehensive professional chimney cleaning before they can fully verify the system’s safety.
Step 4: Inspection of the Exterior Masonry and Chimney Crown
If you want it handled correctly the first time, consider professional chimney cleaning in Seattle.
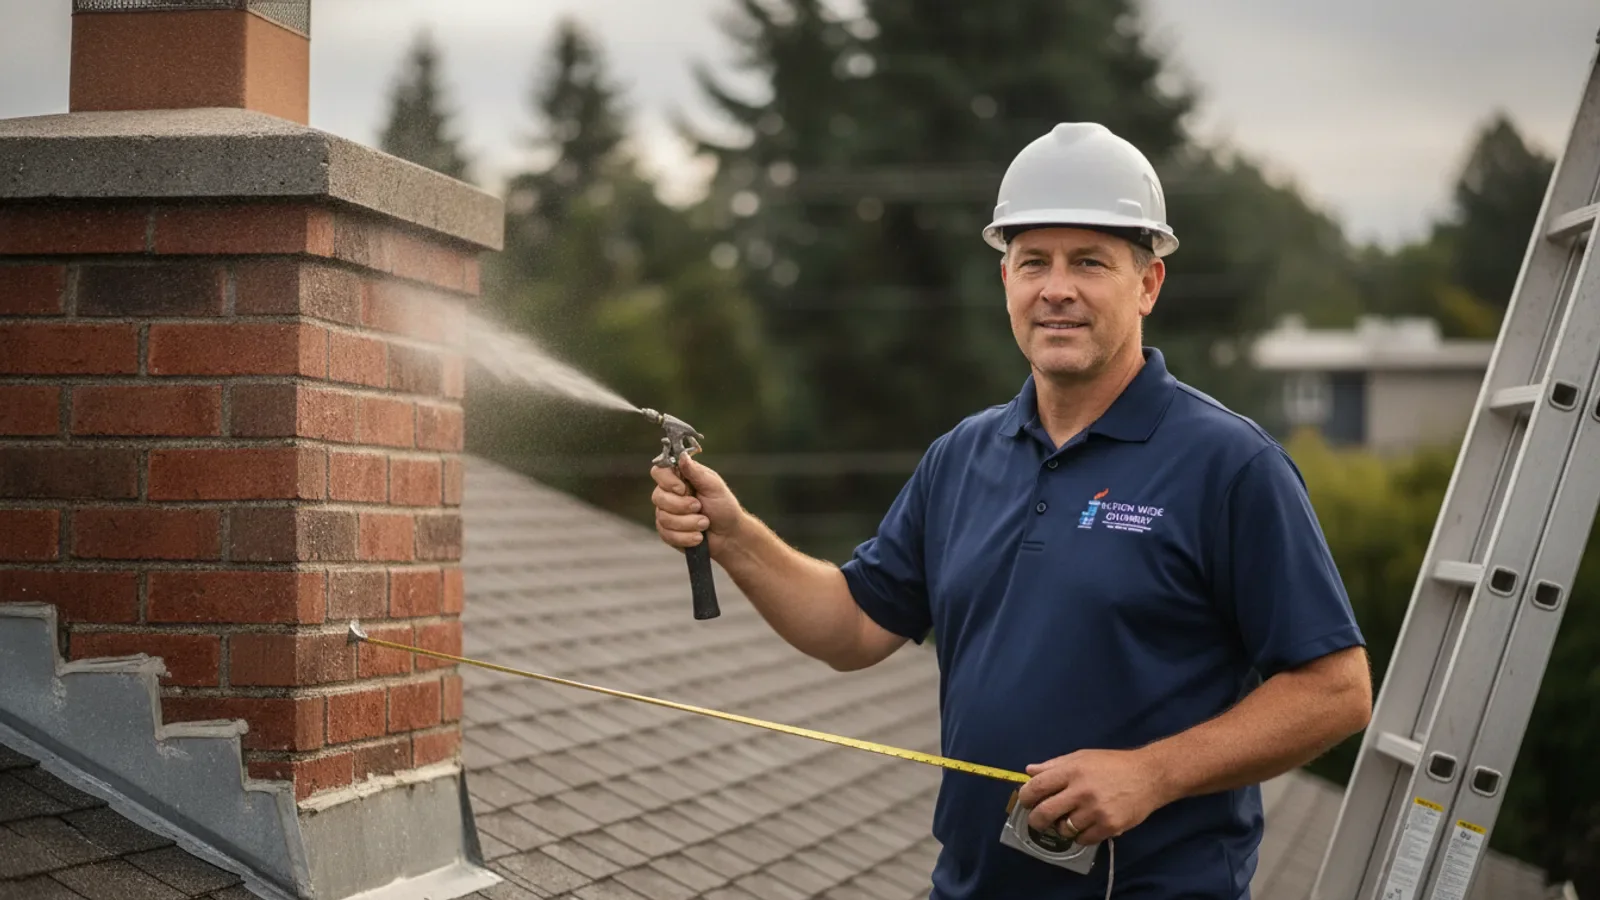
Moving outside, the inspector examines the exterior structure. They look for signs of settling, leaning, or physical damage to the bricks or stone. Special attention is paid to the chimney crown, which is the concrete slab at the very top of the chimney. In Western Washington, crowns are highly susceptible to cracking due to constant moisture exposure, which can allow water to seep down into the chimney’s interior structure.
Step 5: Flashing and Roof Penetration Verification
Water penetration is one of the most common issues in local homes. The technician inspects the metal flashing where the chimney meets the roofline. This flashing must be properly installed and sealed to prevent rainwater from leaking into your attic and ceiling. The inspector will check for rusted metal, separated caulk, or lifted shingles around the chimney base.
Step 6: Chimney Cap and Spark Arrestor Assessment
At the top of the flue, the inspector verifies the condition of the chimney cap and its integrated spark arrestor screen. The cap keeps rain, wind, debris, and local wildlife out of your flue. The mesh screen must be clear of soot buildup and intact to prevent burning embers from escaping onto your roof or into surrounding foliage.
Step 7: Clearances and Termination Height Check
The inspector will verify that the chimney meets national and local building codes regarding height and clearance. A chimney must terminate at least three feet above the roof penetration and at least two feet higher than any portion of the building within a ten-foot radius. This ensures proper draft and reduces the risk of embers igniting nearby building materials.
Step 8: Review of Findings and NFPA Level Designation
Once the physical assessment is complete, the inspector will categorize their findings based on the three NFPA inspection levels:
- Level 1: A basic visual inspection of all readily accessible portions of the chimney, interior, exterior, and accessible appliance connections. This is performed during routine annual maintenance.
- Level 2: A more detailed inspection that includes all aspects of Level 1, plus a video scan of the flue interior and an assessment of accessible attics, crawlspaces, and basements. This is required upon the sale or transfer of a property, after an earthquake or chimney fire, or when changing fuel types.
- Level 3: An invasive inspection that is only conducted when serious hidden hazards are suspected. It may require removing portions of the chimney structure, drywall, or siding to access concealed areas.
The Unique Impact of Seattle’s Climate on Chimneys
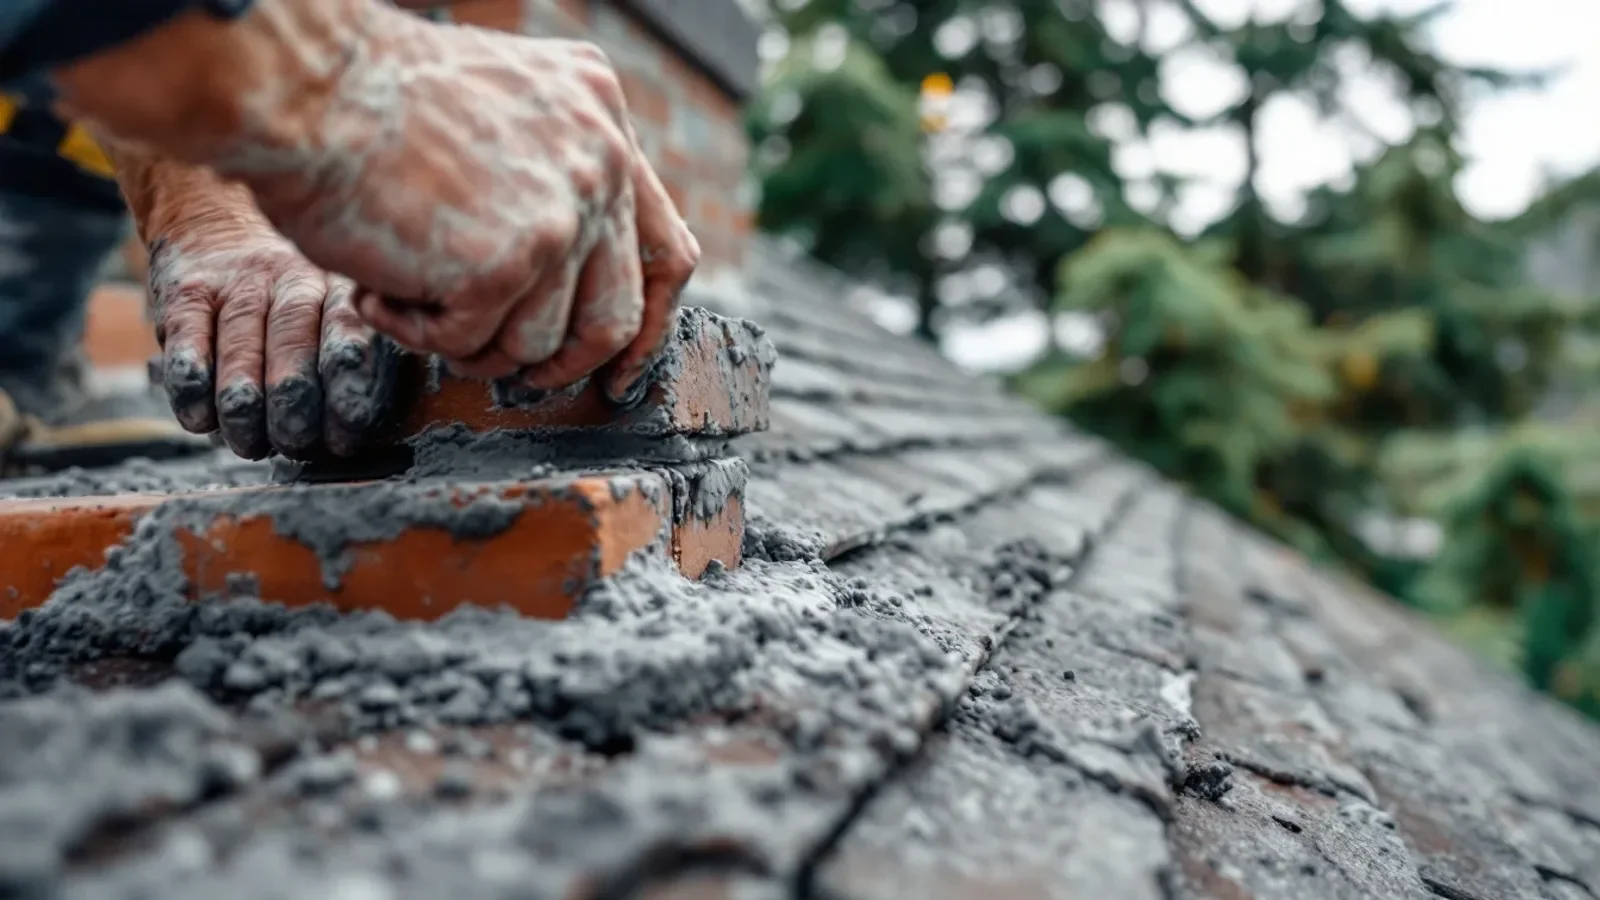
In Seattle, the combination of persistent rainfall, high humidity, and occasional winter freeze-thaw cycles creates a harsh environment for chimney masonry. Water absorbed by porous bricks and mortar during our long, wet winters can expand when temperatures drop below freezing. This expansion causes the masonry to spall, meaning the faces of the bricks pop off, and mortar joints crumble.
Many Seattle homeowners rely on expert chimney cleaning in Seattle for exactly this.
Furthermore, this constant dampness can accelerate the deterioration of metal components like dampers, flashing, and liners. When moisture mixes with the acidic soot and creosote inside your chimney, it forms a highly corrosive paste that can eat through steel liners and clay mortar. A professional inspection in our region is specifically tuned to catch these moisture-driven issues before they cause costly, extensive damage to your home’s structural integrity.
When to Call a Professional in Seattle
While homeowners can easily check for obvious exterior cracks or clear debris from the fireplace hearth, a complete chimney inspection requires specialized training, diagnostic cameras, and roof safety equipment. It is highly recommended to schedule a professional inspection at least once a year, or immediately if you notice any of the following warning signs:
- Water stains on your ceiling or walls near the chimney breast.
- A strong, smoky, or asphalt-like odor coming from the fireplace, especially on humid days.
- Bits of clay tile, sand, or mortar falling down into the firebox.
- Difficulty getting a fire to draft properly, resulting in smoke spilling into your living room.
- A noticeable decrease in heating efficiency from your wood stove or fireplace insert.
Identifying these warning signs early is the key to preventing extensive interior fireplace damage and maintaining a safe household. If your inspection reveals heavy, highly flammable deposits lining your flue, the inspector will advise scheduling a sweep to eliminate the hazard.
Frequently Asked Questions
How long does a typical chimney inspection take?
A standard Level 1 or Level 2 chimney inspection generally takes between 45 minutes to an hour and a half, depending on the accessibility of the chimney and the complexity of the venting system.
Is a chimney inspection different from a chimney cleaning?
Yes. An inspection is a diagnostic assessment of the chimney’s structural integrity and safety. A cleaning, or sweep, is the physical removal of soot, creosote, and blockages from the flue. Inspections often determine whether a cleaning is necessary.
How often should I have my chimney inspected in Washington?
National safety standards recommend having your chimney inspected annually, regardless of how often you use your fireplace. This helps detect water damage, animal nesting, or masonry decay early.
Maintaining a Safe and Efficient Hearth
Ignoring your chimney’s annual check-up can lead to costly repairs and preventable safety hazards. A professional chimney inspection provides peace of mind, ensuring your system drafts correctly and remains protected against the Pacific Northwest weather. If your inspection indicates that your flue has accumulated soot or creosote, or if you want to establish a healthy baseline for your fireplace, take the proactive step of scheduling a professional assessment today. For further tips on keeping your fireplace in prime condition after a service, consult our guide on chimney maintenance best practices.