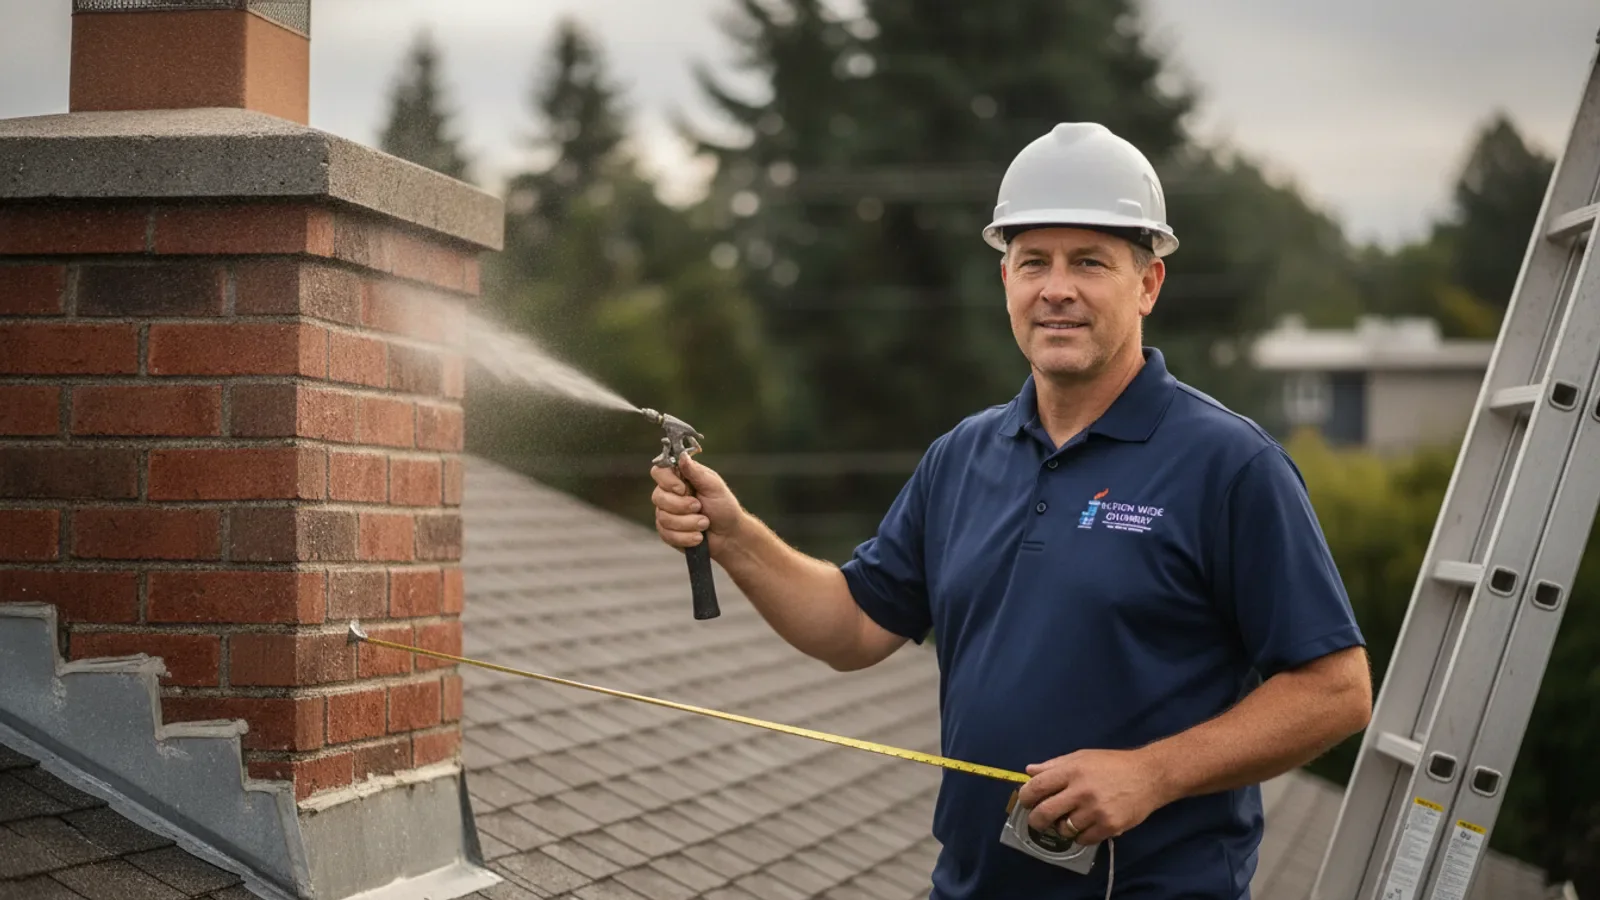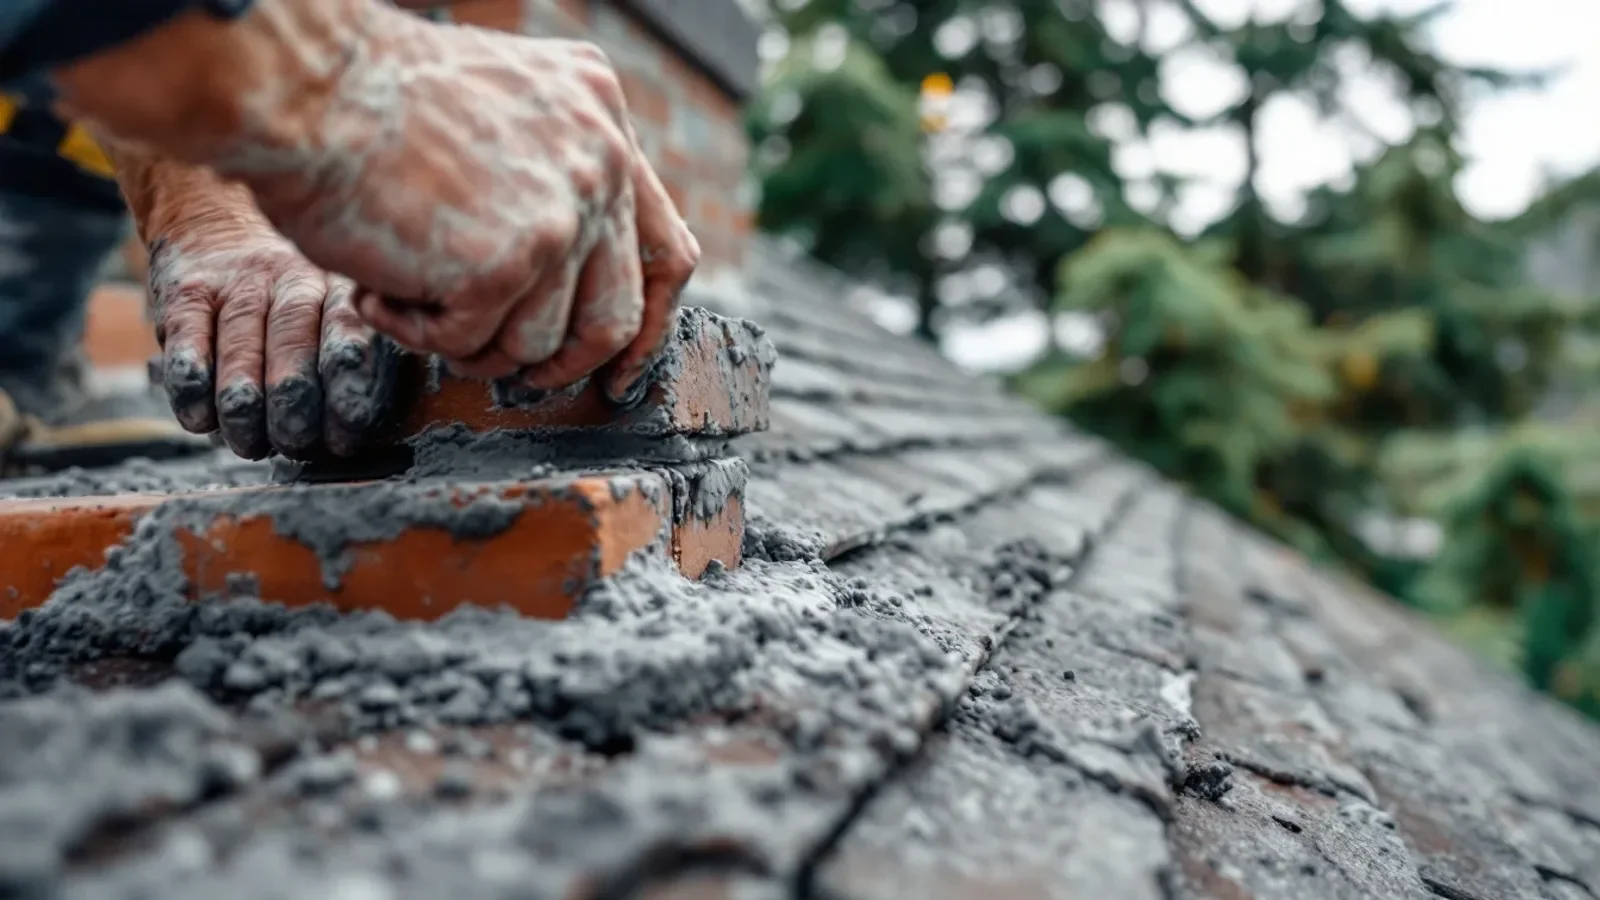
When Is Chimney Repointing Needed in Seattle?
Ignoring soft or crumbly mortar joints on a Seattle chimney does not just lead to a weathered appearance, it quietly invites water to travel deep inside your masonry structure. Once dampness penetrates the brickwork, the combination of constant Pacific Northwest rainfall and sudden winter temperature drops can cause structural shifting, interior leaks, and spalling bricks that eventually require major rebuilding. Catching this wear early through targeted repointing chimney mortar joints keeps your home dry and maintains the physical stability of your fireplace system.
In the Puget Sound region, masonry is subject to near-constant moisture exposure for most of the year. When mortar joints begin to fail, they stop acting as a protective barrier and instead function like a sponge, drawing water into the chimney core. Understanding when to address this deterioration is the key to protecting your property before minor wear turns into a massive structural headache. This guide outlines exactly how to inspect your mortar, what to look for, and how to plan for repairs in our specific climate.
The Mortar Health Assessment Checklist
Regular visual inspections can help you catch mortar decay before water migrates into your home. Use this diagnostic checklist to determine if the mortar joints between your bricks are still performing their structural duties.
- Conduct the screwdriver scrape test. Gently run a flat-head screwdriver along several horizontal and vertical mortar joints; if the material crumbles easily, turns to powder, or falls away under light pressure, the binder has degraded and requires replacement.
- Inspect for hairline gaps. Look closely at the points where the brick meets the mortar, checking for tiny separations or hairline cracks that allow rainwater to be pulled inward by capillary action.
- Look for recessed or hollow joints. Examine the depth of the mortar lines to see if they have worn back several millimeters behind the face of the brick, which allows water to pool on the exposed lower brick edges.
- Check for loose or shifting bricks. Grab individual bricks near the top of the stack and apply gentle pressure to ensure they do not wiggle, slide, or feel loose within their beds.
- Identify areas of previous mismatched repairs. Note any sections where hard Portland cement was previously smeared over older, softer lime-based mortar, which often causes the surrounding historic brick to crack under stress.
Signs of Hidden Moisture Penetration
If you want it handled correctly the first time, consider professional chimney repair in Seattle.
Mortar joint decay is rarely an isolated problem; it is almost always accompanied by water intrusion that can damage other parts of your fireplace and home interior. Use this checklist to spot the secondary signs of failing mortar.
- Check for white powdery salt deposits. Look for efflorescence, a white crystalline substance left behind on the exterior or interior brick surfaces when moisture carries soluble minerals out of the mortar and evaporates.
- Inspect the fireplace interior for damp smells. Take note of musty, earthy, or damp odors coming from the firebox during heavy rains, which indicates water is soaking through the masonry wall.
- Scan interior walls for plaster or drywall damage. Check the ceiling and drywall directly adjacent to the chimney breast inside your home for soft spots, bubbling paint, or brown water staining.
- Examine the attic floor and rafters. Climb into the attic space with a flashlight during a rainy day to inspect the wood framing surrounding the chimney penetration for dampness, active drips, or dark water staining.
- Identify early signs of spalling. Look for brick faces that are beginning to peel, flake, pop off, or crack, which is a classic sign of trapped moisture freeze-thawing behind damaged mortar joints, as detailed in our guide on spalling brick causes in Seattle.
Seattle-Specific Masonry Considerations
Working with masonry in Seattle requires a deep understanding of our unique local climate, historic building materials, and weathering patterns. Use this checklist to align your maintenance plans with local environmental realities.
- Plan repairs around dry weather windows. Schedule your repointing projects during late spring, summer, or early autumn, as newly applied mortar must cure slowly without being washed away by heavy rainfall or frozen by overnight frost.
- Match the historical mortar composition. Ensure your contractor matches the compressive strength of the existing mortar, especially for Seattle homes built before 1940, which typically feature soft, lime-based mortars that will crack if repaired with modern, overly rigid Portland cements.
- Address the marine air exposure. Take into account that homes closer to Puget Sound experience wind-driven, salt-laden moisture that can accelerate the chemical breakdown of older masonry binders.
- Evaluate seismic resilience. Keep in mind that solid, flexible mortar joints are essential for allowing a brick chimney to safely absorb minor ground vibrations and seasonal settling without cracking or collapsing.
- Prepare for the local freeze-thaw dynamic. Recognize that while Seattle winters are relatively mild, the frequent fluctuation above and below the freezing point when bricks are saturated with winter rain is highly destructive to compromised mortar.
Many Seattle homeowners rely on expert chimney repair in Seattle for exactly this.
Planning Your Repointing Project
A successful repointing project requires systematic preparation, proper tool usage, and a clear understanding of the steps involved in restoring structural integrity to your chimney.
- Establish the depth of joint preparation. Ensure old, damaged mortar is raked or ground out to a consistent depth, typically twice the width of the joint, to provide a solid mechanical bond for the new material.
- Assess the need for pre-wetting. Confirm that the old brickwork is thoroughly dampened before applying new mortar so the dry clay does not quickly suck the moisture out of the fresh mix, causing it to shrink and crack.
- Verify correct joint profiles. Choose a joint finish, such as a concave or weather-struck joint, that naturally sheds water downward and outward away from the seam rather than letting it sit.
- Review safety and access requirements. Set up secure scaffolding, roof ladders, and fall protection gear to handle the steep pitches and height challenges common to homes in neighborhoods like Queen Anne and Capitol Hill.
- Coordinate with waterproofing plans. Plan to apply a breathable, vapor-permeable silane-siloxane water repellent to the entire structure once the new mortar has cured for at least 28 days, following the steps in our post-repair guide on preventative waterproofing treatments.
Frequently Asked Questions
What is the difference between repointing and tuckpointing?
Repointing is the physical process of removing damaged, crumbling mortar from the joints and packing in fresh mortar to restore structural strength and weather resistance. Tuckpointing is a cosmetic technique where contrasting mortar colors and thin, raised lines are applied to give the illusion of perfectly straight, narrow joints on irregular brickwork.
Ready for the next step? Learn how chimney repair services in Seattle can help and reach out to the team.
How long does repointing mortar joints typically last?
When high-quality materials are used and applied correctly under the right weather conditions, a professional repointing job can last anywhere from 30 to 50 years. However, this lifespan can be shortened by poor roof drainage, missing chimney caps, or neglecting to apply a breathable water repellent to the brickwork.
Can I repoint my own chimney during a dry weekend?
While minor mortar touch-ups at ground level can be a do-it-yourself task, working on a chimney requires specialized safety equipment, precise mortar color and strength matching, and proper dust containment tools. Working at heights without professional training carries significant safety risks, and using the wrong mortar mix can cause permanent structural damage to your bricks.
Protecting Your Home From the Top Down
Leaving crumbling mortar unaddressed exposes your entire home to structural damage, internal leaks, and decaying brickwork that becomes incredibly expensive to rebuild. Taking action at the first sign of soft or missing joints keeps your masonry strong and impervious to the damp Pacific Northwest climate. If you are noticing sandy debris on your roof or dampness in your fireplace, check out our comprehensive resource on how to spot chimney water damage to assess the full condition of your masonry system.
Ready to restore the integrity of your brickwork? Schedule a professional inspection with Nation Wide Chimney Sweep&Repair to get an accurate assessment of your chimney’s needs. Whether you require minor mortar repairs or more extensive chimney repairs washington, our experienced local team is here to help keep your home safe, warm, and dry. Contact us today to secure your property before the next rainy season begins.