How to Apply Chimney Brick Sealant Waterproofing After a Seattle Repair
You stand in your living room on a blustery November evening, listening to the relentless Seattle rain drum against the windowpane. Then you hear it: a slow, rhythmic drip inside the fireplace firebox. After recently coordinating a masonry restoration, the last thing you want is to see damp bricks or white powdery stains blooming across your hearth again. Seattle receives average annual rainfall that keeps masonry saturated for months at a time, making water mitigation the single most critical factor in the longevity of your fireplace system.
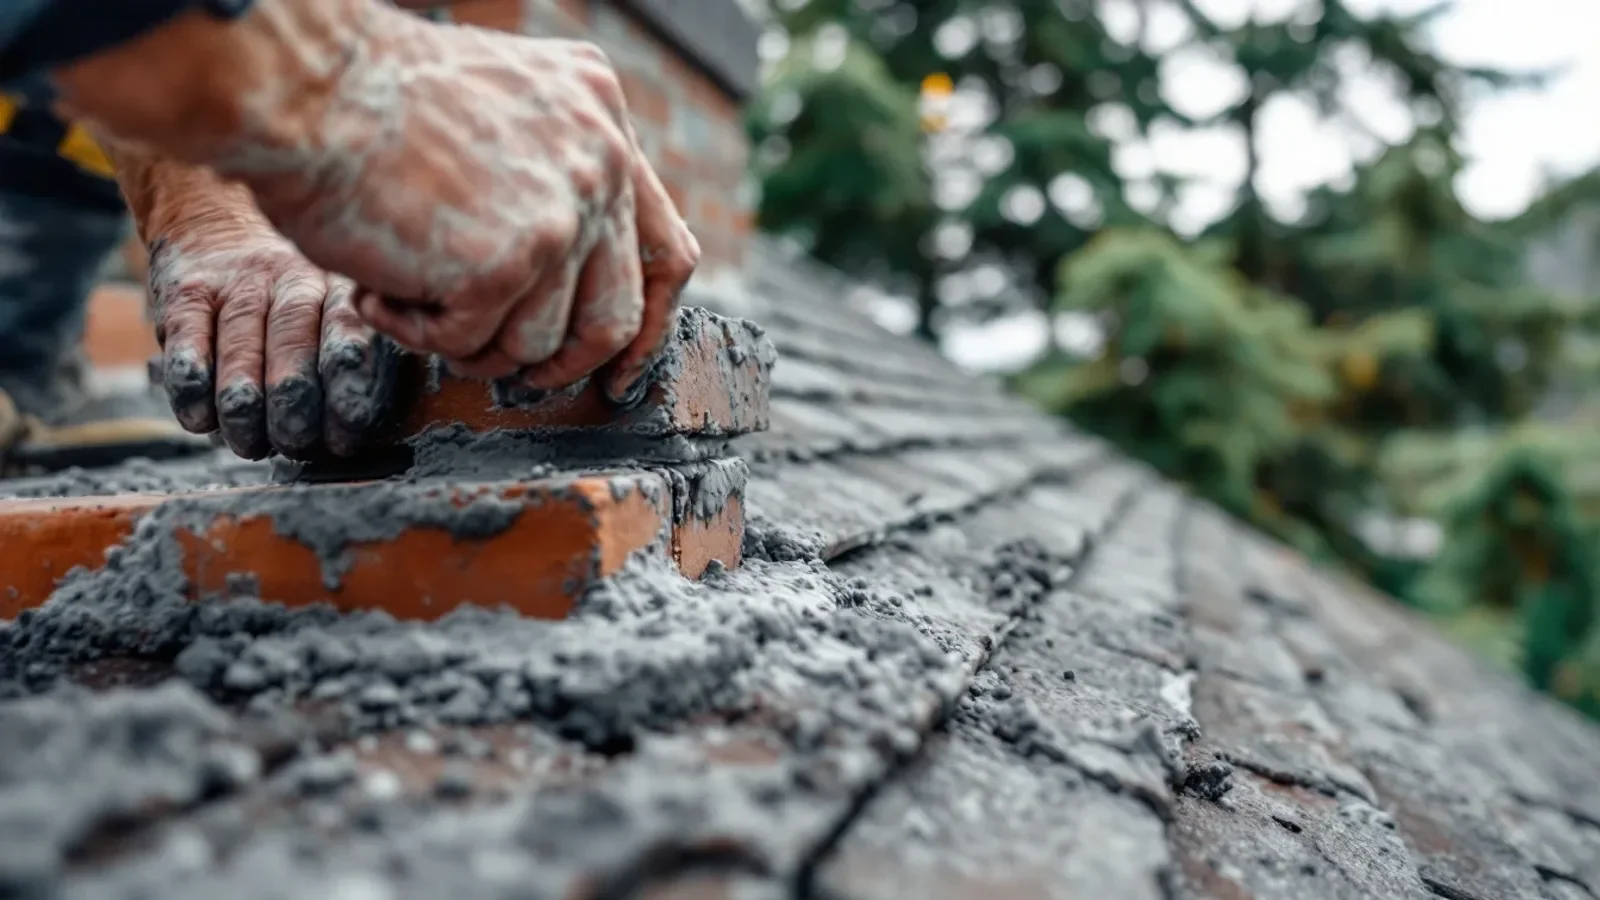
When bricks undergo restoration or repointing, the fresh mortar needs time to cure before it can be shielded from the elements. Once that curing window closes, applying a dedicated vapor-permeable chimney brick sealant waterproofing is the vital final step that prevents your investment from washing away. Clay bricks act like dense sponges, soaking up moisture that expands during our occasional winter freezes and causes the faces of the bricks to pop off. By sealing the masonry properly, you stop this destructive cycle in its tracks.
Before You Start: Preparation and Safety
Waterproofing a chimney is a precise process that requires the right weather window and proper materials. Never attempt to apply a sealant to dirty, wet, or freshly repaired masonry that has not fully cured.
- Curing Time: Newly completed mortar repairs must cure for at least 28 days before any sealer is applied.
- Weather Window: You need at least 24 to 48 hours of dry weather with temperatures consistently between 40 and 90 degrees Fahrenheit.
- Vapor Permeability: Always select a breathable, silane-siloxane based formula designed specifically for chimneys. Avoid film-forming sealants like polyurethane or acrylic, which trap water inside the brick and accelerate spalling.
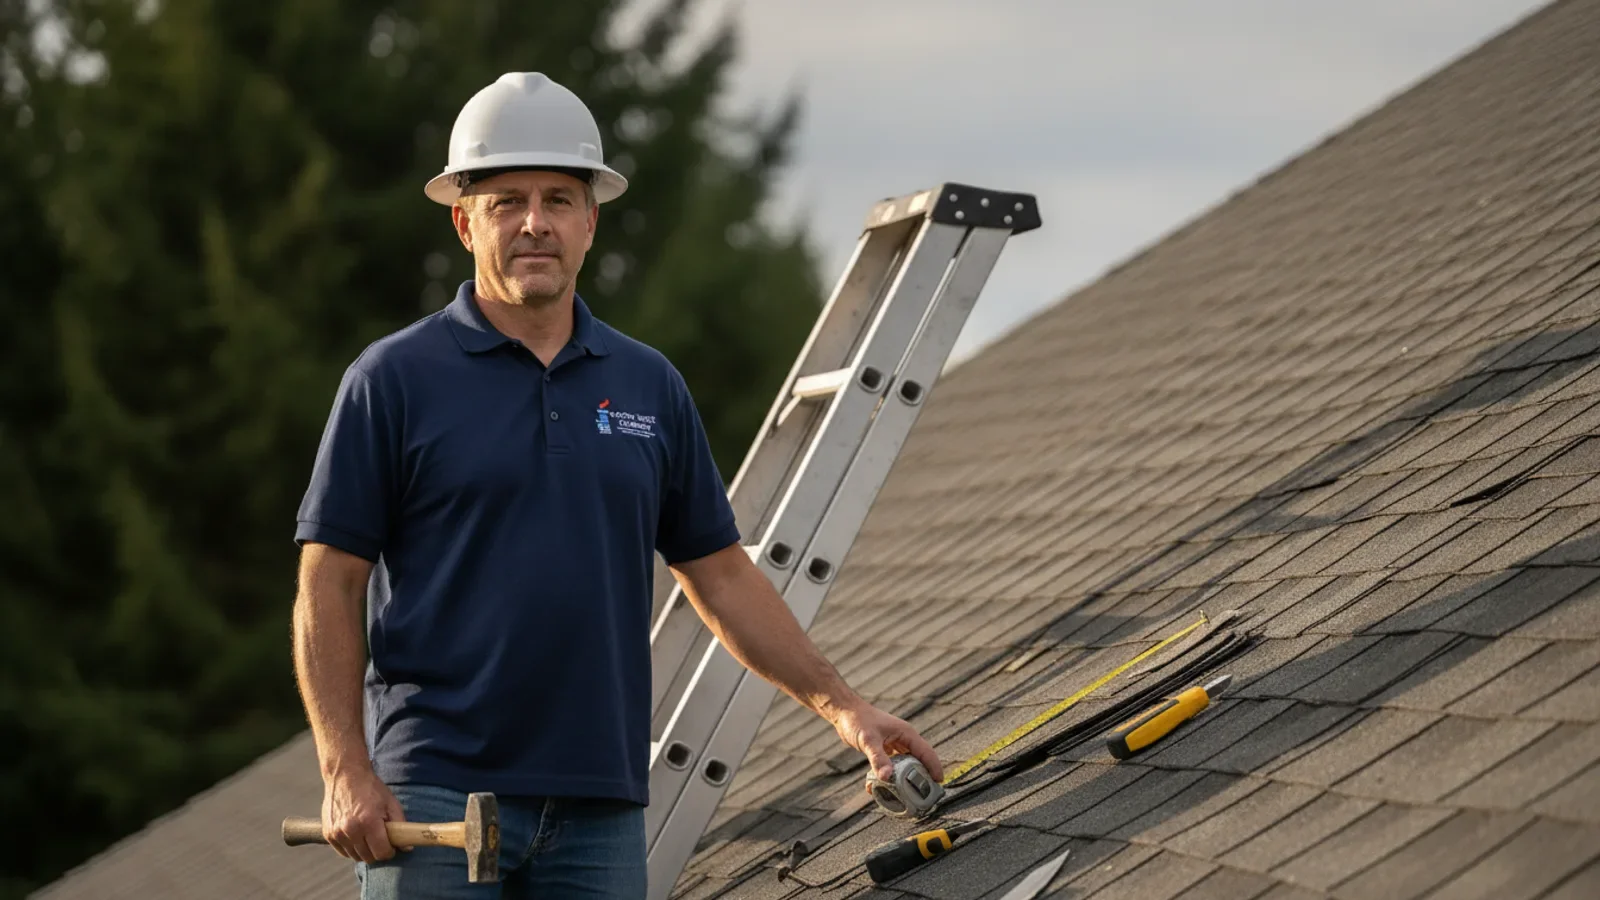
- Safety Gear: Acquire safety goggles, chemical-resistant gloves, a respiratory mask for fumes, and secure ladder stabilization equipment.
Step 1: Inspect the Restored Masonry and Mortar
Before applying any liquid product, conduct a thorough visual inspection of the entire structure. Ensure that all repointing work is completely cured, solid, and free of hairline cracks. Check the area where the brick meets the roofline and ensure the metal flashing is secure. If you notice any missed gaps or loose brickwork, these must be addressed before proceeding. If you suspect structural damage was missed, consult a professional for a comprehensive chimney repair seattle evaluation to ensure the structure is sound.
Step 2: Clean the Chimney Surface Thoroughly
For chimney brick sealant waterproofing to bond effectively, the masonry must be free of dirt, soot, moss, and efflorescence (the white, powdery salt deposits left by moisture). Use a stiff-bristle nylon brush to scrub away loose debris and salt buildup. For stubborn organic growth, common in shady areas of King County, use a mild, eco-friendly masonry cleaner. Avoid high-pressure washing, as it can force gallons of water deep into the brick pores and damage fragile mortar joints.
Step 3: Allow the Masonry to Dry Completely
Applying sealer to damp bricks is a recipe for failure. The water trapped inside the pores will prevent the sealant from penetrating, leading to a patchy, ineffective barrier. After cleaning, wait at least 24 to 36 hours of dry, breezy weather before starting the application. The brick must feel completely dry to the touch across the entire structure.
Step 4: Protect Surrounding Roof and Trim Areas
If you want it handled correctly the first time, consider professional chimney repair in Seattle.
Silane-siloxane sealants can stain asphalt shingles, metal flashing, vinyl siding, and painted trim. Use plastic drop cloths or heavy-duty painter's tarp to cover the roof deck directly beneath the chimney. Secure the sheeting with painter's tape. Be mindful of wind drift when spraying, as overspray can settle on nearby vehicles or landscaping.
Step 5: Mix and Prepare the Sealant
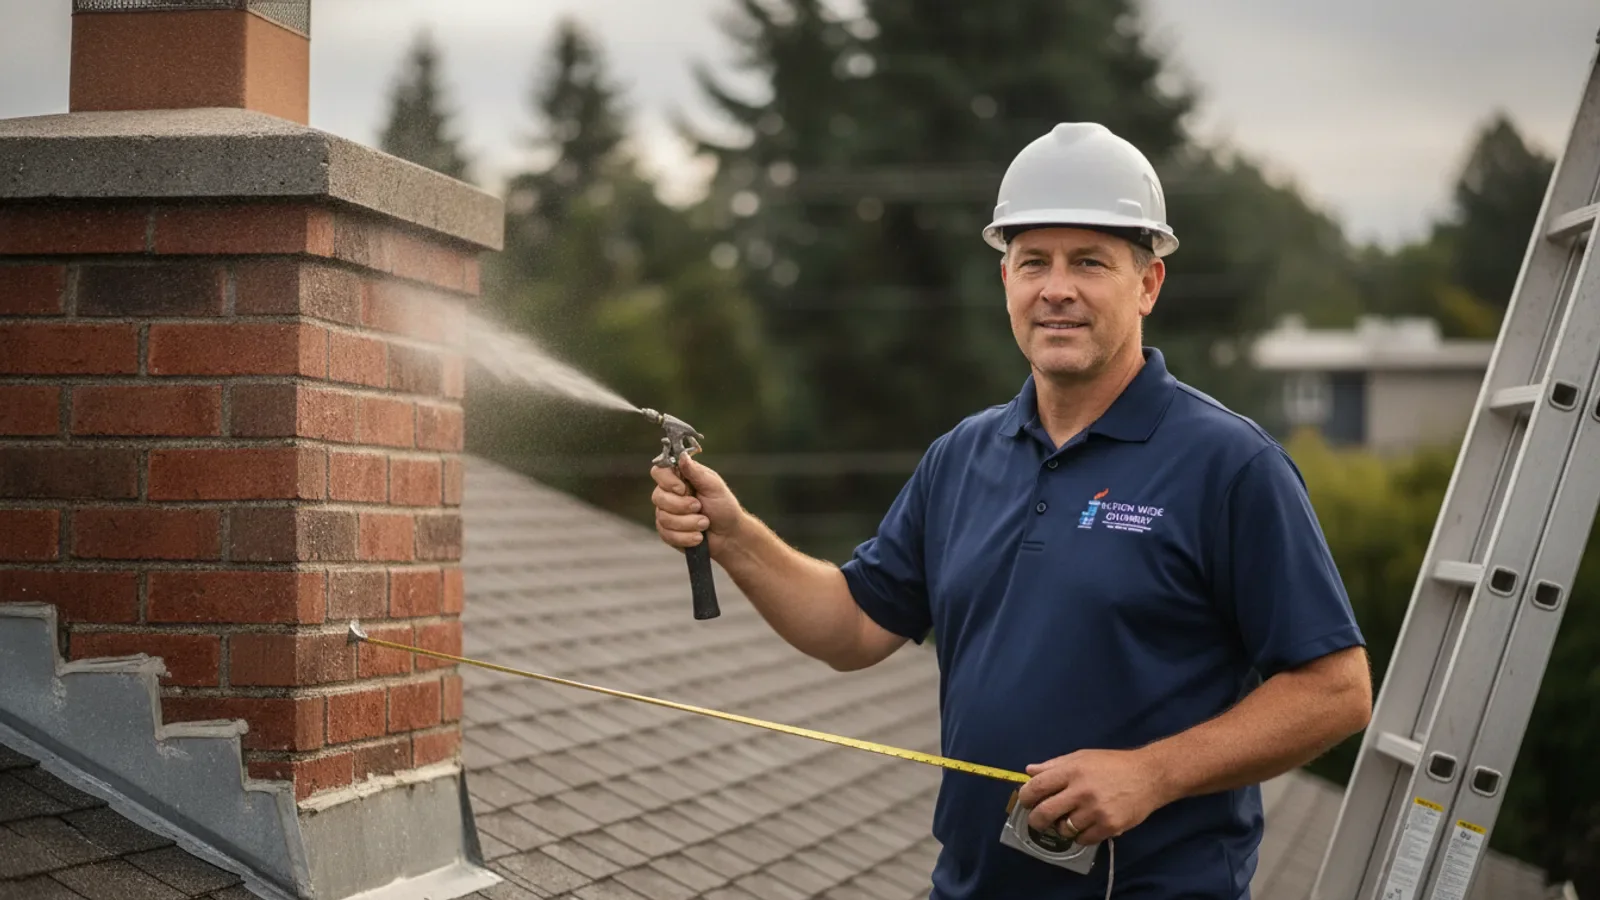
Read the manufacturer's instructions for your specific chimney brick sealant waterproofing product. Most professional-grade formulas come ready to use and should not be diluted. Pour the liquid into a clean, low-pressure garden pump sprayer fitted with a fan-pattern nozzle. A fan tip ensures an even, controlled distribution rather than a concentrated stream.
Step 6: Apply the Sealant from the Bottom Up
Begin spraying at the base of the chimney structure and work your way upward. Apply a heavy, saturating coat, allowing the liquid to run down roughly six to eight inches below the spray pattern. Working from the bottom up prevents the sealant from running down dry brick, which can create uneven, dried streaks that block subsequent penetration. Ensure you thoroughly saturate both the brick faces and the recessed mortar joints.
Step 7: Apply a Second Coat While Wet
Most breathable sealants require a “wet-on-wet” application. This means the second coat must be applied before the first coat dries completely, typically within 10 to 15 minutes of the first pass. This double-saturating process ensures the chemical penetrates deep into the microscopic pores of the clay and mortar. Once the second coat is applied, use a dry paintbrush or roller to gently spread any puddles or heavy runs on horizontal surfaces, such as the chimney crown.
Step 8: Clean Up and Monitor the Curing Process
Immediately remove the protective plastic sheeting from the roof to prevent heat buildup on the shingles. Clean your sprayer and tools with warm, soapy water or the solvent recommended by the manufacturer. Keep the treated surfaces dry for at least six hours. The sealant will reach its full hydrophobic properties within 24 to 72 hours, depending on local humidity and temperature levels.
The Impact of the Seattle Climate on Masonry
In Western Washington, chimneys face a unique set of weather-related challenges. Unlike arid regions, our local environment subjects masonry to prolonged, soaking rain from October through May. Bricks absorb this moisture constantly. When temperatures dip below freezing during winter cold snaps, the water trapped inside the brick expands by approximately nine percent. This internal pressure causes the faces of the bricks to fracture and pop off, a highly destructive process known as spalling.
Many Seattle homeowners rely on expert chimney repair in Seattle for exactly this.
Additionally, the high humidity and shade provided by Seattle's dense tree canopy encourage the growth of moss, lichen, and algae on masonry surfaces. These organisms secrete mild acids that slowly break down mortar joints over time. Applying a vapor-permeable water repellent prevents liquid water from soaking into the brick while allowing internal moisture vapor to escape freely. This breathability is crucial; sealing moisture inside the brick with an impermeable coating will accelerate freeze-thaw damage rather than prevent it.
When to Call a Professional in Seattle
While applying a sealant to a short, easily accessible chimney cap can be a straightforward homeowner task, working on a roof carries inherent risks. Chimneys on steep roofs, multi-story homes, or structures with severe historical decay require professional intervention. Working on ladders or rooftops in wet or windy Pacific Northwest conditions is dangerous and should only be handled by trained technicians with proper fall-protection gear.
If you discover that your chimney mortar is crumbling, or if you notice missing bricks, waterproofing alone will not solve the problem. Sealing over damaged mortar traps structural issues underneath, leading to faster deterioration. If you notice structural issues, it is time to look for professional masonry restoration seattle options to repair the physical structure before any preventative coatings are applied. Professional teams can also perform a diagnostic water-absorption test to ensure the sealant selected is perfectly matched to the density of your chimney's brickwork.
Frequently Asked Questions
How often should I apply waterproofing sealant to my Seattle chimney?
Professional-grade silane-siloxane water repellents typically protect Seattle masonry for five to ten years. The exact lifespan depends on the chimney's exposure to heavy wind-driven rain and shaded trees. You can test your chimney by spraying it with a garden hose; if the water beads up and rolls off, the sealer is still working, but if the brick darkens and absorbs the water, it is time to reapply.
Can I use standard deck or concrete sealer on my chimney bricks?
No, you should never use standard silicone, acrylic, or multi-purpose concrete sealers on a chimney. These products often create a non-breathable film that traps normal household moisture vapor inside the brick, which will cause the brick to rot and spall from the inside out during freeze-thaw cycles.
Is chimney waterproofing necessary if I just had my chimney repointed?
Yes, waterproofing is highly recommended after repointing. While new mortar provides structural integrity and seals out bulk water, both the brick and the new mortar remain porous materials. Applying a breathable water repellent after the mortar has cured for 28 days shields the fresh joints from acid rain and moisture penetration, significantly extending the life of your repointing investment.
Protecting Your Home for the Long Haul
Investing in masonry repairs is a crucial step in maintaining your home's structural integrity and keeping your hearth dry. However, without a dedicated protective barrier, Seattle's relentless damp climate will immediately begin wearing down the fresh materials. Taking the time to apply a high-quality chimney brick sealant waterproofing, or hiring a local specialist to handle the high-elevation application, ensures your fireplace remains a safe, dry feature of your home for decades.
If you are planning an upcoming restoration project, or if you want to verify that your newly repaired brickwork is fully prepared for the winter rains, reach out to a trusted team of local professionals. Search for certified chimney repairs washington specialists who understand how to handle the unique moisture challenges of the Pacific Northwest.