Preventing Seattle Chimney Leaks After a Masonry Repair
You notice a faint musty smell near the fireplace after the first heavy rain of November, even though the mortar was just repointed. In Seattle, finishing a masonry repair is not the finish line. The Pacific Northwest’s relentless moisture means every sealed joint and fresh course of brick needs a second layer of defense to stay watertight through the seasons. This checklist walks you through exactly what to do, and watch for, once the repair work is done.
1. Understand Why Seattle Chimneys Keep Leaking After Repairs
- Recognize that Seattle averages roughly 38 inches of rainfall per year, most of it falling as persistent drizzle that saturates masonry slowly rather than running off quickly.
- Understand that brick and mortar are porous materials; water absorbed during wet months expands when temperatures dip near freezing, widening hairline cracks even in freshly repaired sections.
- Acknowledge that a repair addresses existing damage but does not automatically seal the surrounding masonry against future moisture intrusion.
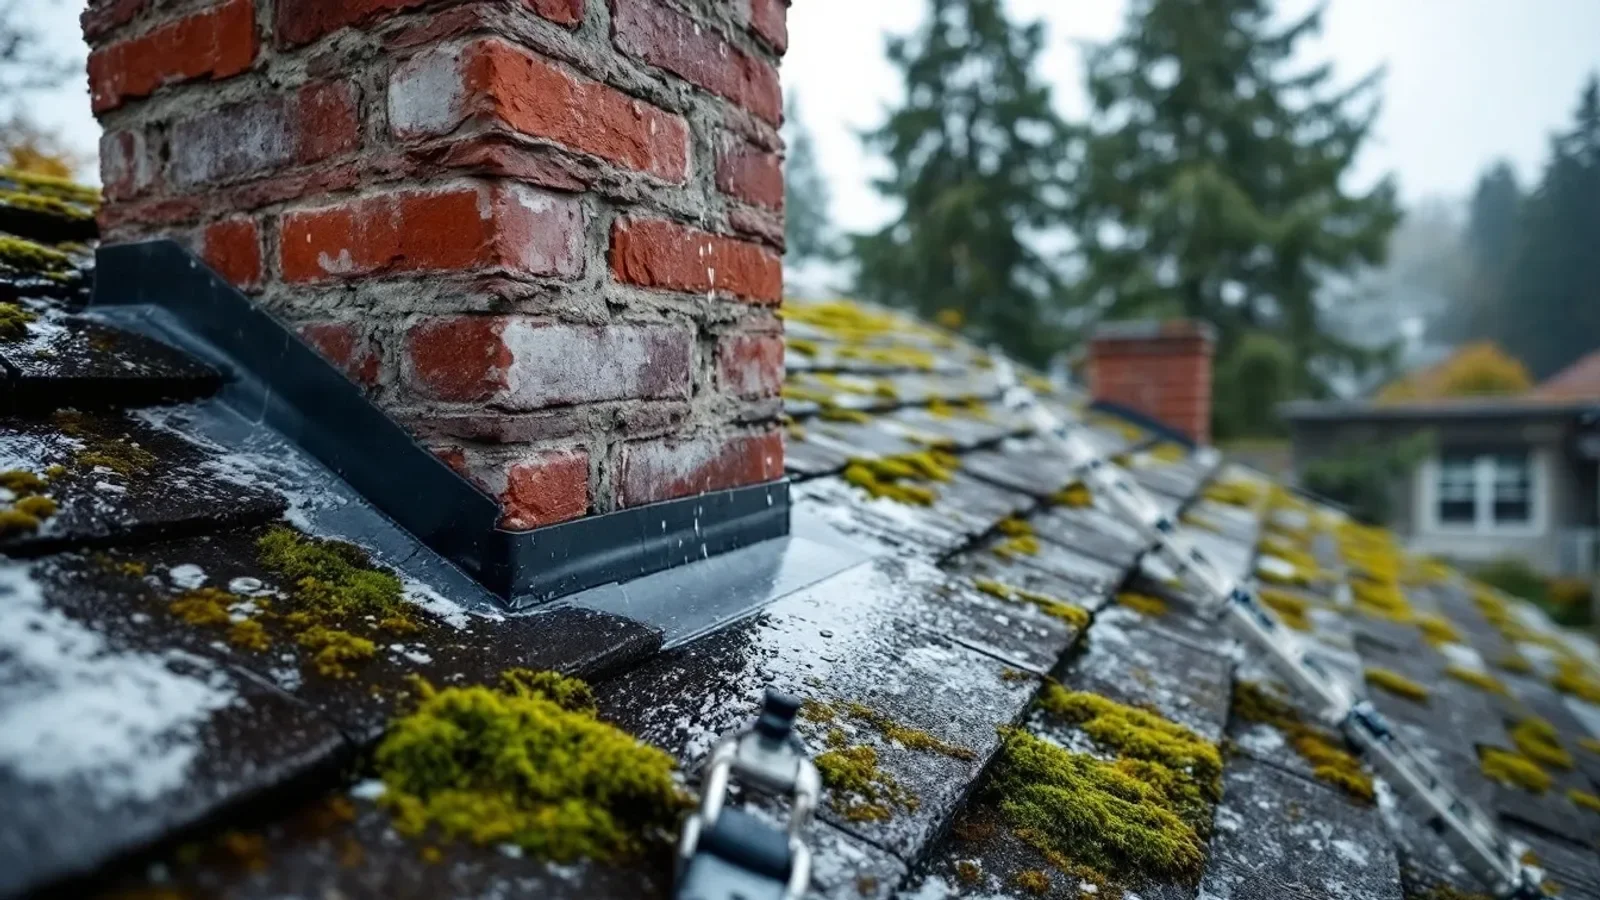
- Accept that algae and moss growth, common on Seattle-area chimneys due to shade and humidity, trap moisture against the surface and accelerate deterioration if left untreated.
- Note that flashing failures, cap gaps, and crown cracks are separate entry points that masonry repair alone does not address.
- Review the how Seattle weather damages chimney masonry article to understand which specific failure modes are most common locally before planning your post-repair protection strategy.
2. Inspect and Restore Every Water Entry Point
- Check the chimney crown (the concrete or mortar cap that slopes away from the flue) for cracks, chips, or areas where it has pulled away from the flue liner; even a hairline crack channels water directly into the chase.
- Inspect flashing at the roofline where the chimney meets the shingles; look for lifted edges, rust stains, or gaps between the step flashing and counter-flashing that allow water to track behind the masonry.
- Examine the chimney cap (the metal cover sitting over the flue opening) for missing mesh screens, rust, loose fasteners, or a cap that is undersized for the flue dimensions.
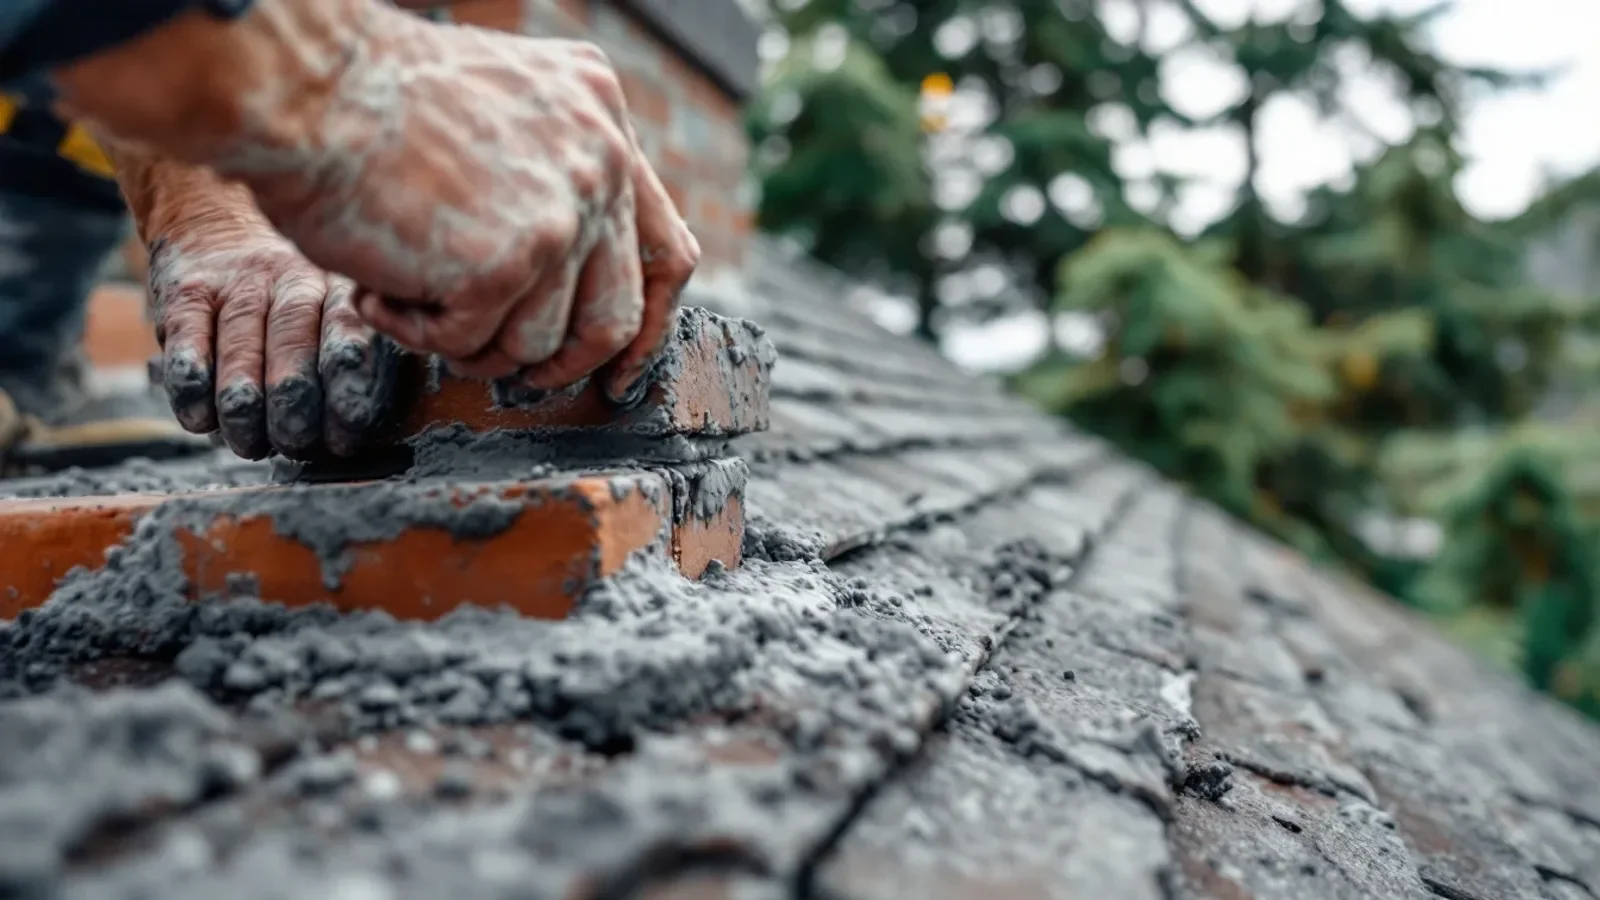
- Look at every mortar joint in the newly repaired section and the courses above and below it; fresh mortar that was applied in cold or rainy conditions may cure poorly and show surface crazing within a season.
- Check the interior firebox and smoke chamber for white efflorescence or dark water stains that indicate moisture is already tracking down from above.
- Confirm that any interior liner tiles or stainless steel liner segments are properly sealed at joints, since a cracked liner can allow flue gases and water to migrate into the masonry stack.
3. Install or Upgrade the Chimney Cap
If you want it handled correctly the first time, consider professional chimney repair in Seattle.
- Choose a cap with an overhang that extends at least two inches beyond the chimney crown on all sides; this directs rain away from the crown surface rather than letting it sheet down the masonry face.
- Select stainless steel or copper construction rather than galvanized steel; in Seattle’s damp climate, galvanized caps show rust within a few years, and rust stains are difficult to remove from light-colored brick.
- Verify the mesh screen openings are fine enough to exclude birds and squirrels (standard mesh is typically around one-inch square) but not so fine that creosote or debris clogs them quickly.
- Confirm the cap is secured with appropriate fasteners that allow for thermal expansion; a cap that is screwed too rigidly to the flue tile can crack the tile as temperatures shift.
- Consider a full-width cap that covers the entire chimney top rather than only the flue opening if your chimney has multiple flues or an exposed mortar crown that needs additional protection.
- Schedule a follow-up check after the first significant windstorm of the season; Seattle’s fall and winter wind events can loosen caps that appeared secure when installed.
4. Apply a Masonry Water Repellent Correctly
- Wait until the repair mortar has cured fully before applying any water repellent; most mortar mixes require at least 28 days of cure time, and applying sealer too early traps moisture inside the joint and causes spalling.
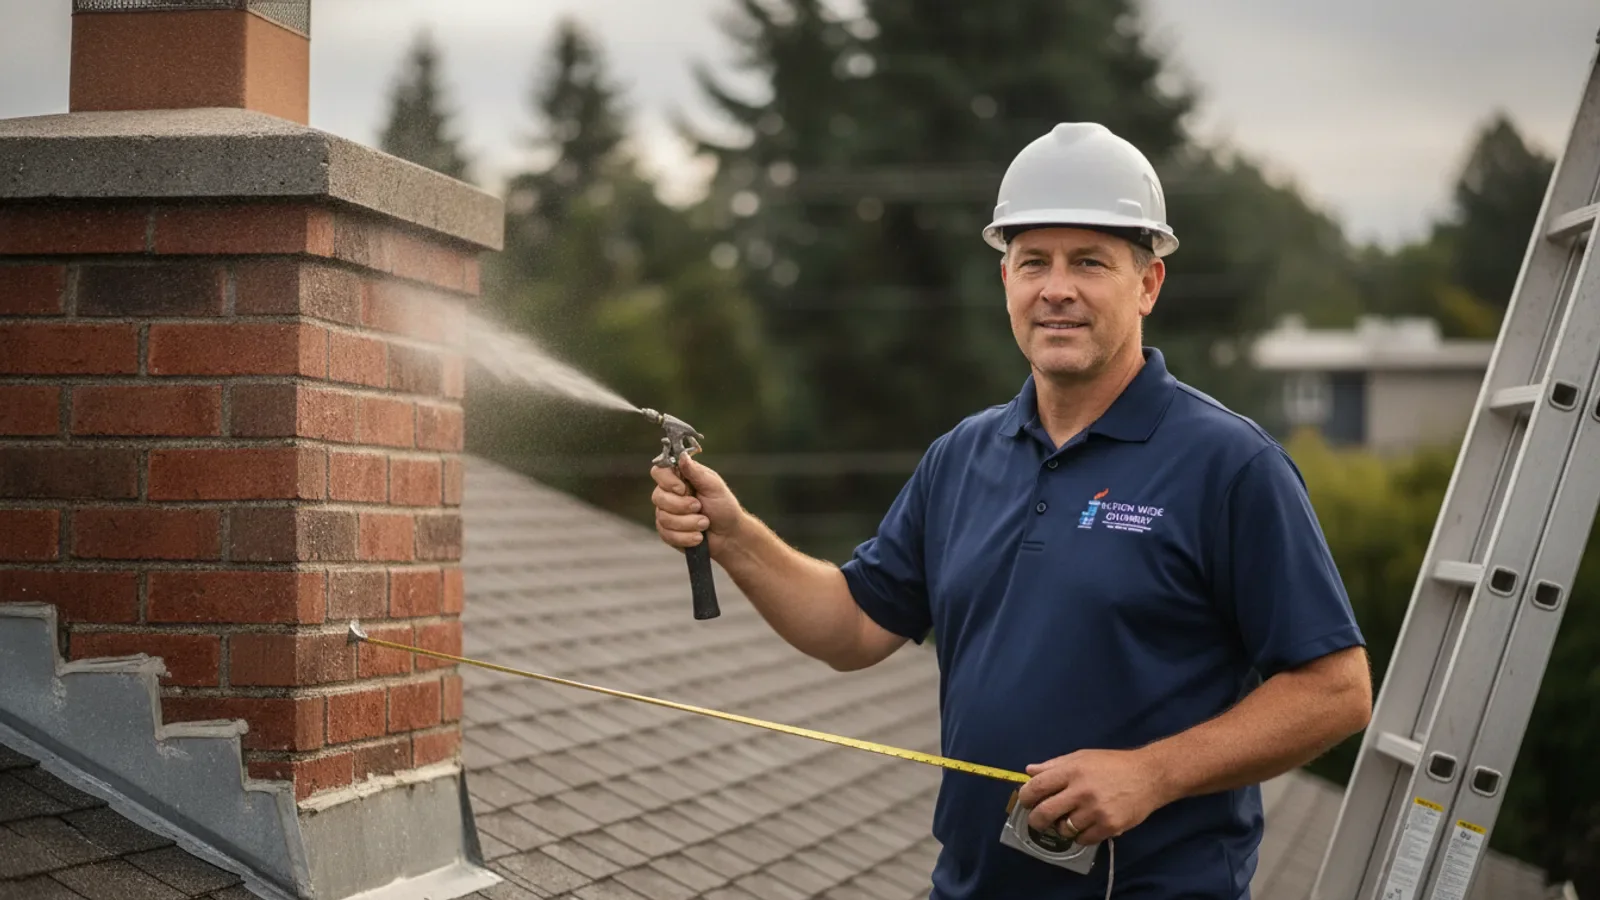
- Choose a vapor-permeable (breathable) water repellent specifically formulated for masonry chimneys; products that form a hard film can trap interior moisture and cause the very damage they are meant to prevent.
- Clean the chimney surface of any efflorescence, moss, algae, or dirt before application; repellents bond poorly to contaminated surfaces and leave unprotected patches.
- Apply the repellent in dry conditions with temperatures above 40°F; Seattle’s window of dry, mild days is narrowest in winter, so plan application for late summer or early fall after repairs are complete.
- Apply in two coats, allowing the first coat to absorb fully before the second; single-coat application on porous Seattle brick often leaves gaps in coverage.
- Reapply on the manufacturer’s recommended schedule, typically every five to seven years, rather than waiting until visible water damage reappears.
- Do not apply water repellent to the interior of the firebox or to any surface that will be exposed to direct flame or high heat.
5. Address Flashing and Crown Repairs as Standalone Tasks
- Treat flashing restoration as a separate scope of work from masonry repair; the two trades sometimes overlap but require different materials and techniques.
- Confirm that step flashing is woven into the shingle courses rather than simply caulked at the surface; caulk-only flashing is a common shortcut that fails within a few Seattle rain seasons.
- Inspect counter-flashing (the piece embedded in the mortar joint) for separation; if it has pulled out of the joint, reseating it with hydraulic cement or lead wedges is necessary before any surface caulking.
- Repair or replace a cracked chimney crown using a flexible, polymer-modified crown coat rather than standard mortar; standard mortar crowns crack repeatedly under Seattle’s freeze-thaw cycles, while flexible coatings accommodate movement.
- Slope the crown repair so water sheds away from the flue collar toward the chimney edges; a flat or inward-sloping crown pools water at the most vulnerable point.
- Check the saddle or cricket (the small peaked structure behind the chimney on the high side of the roof) if your chimney is wider than 30 inches; without a cricket, water and debris accumulate against the uphill face and accelerate flashing failure.
6. Seattle-Specific Considerations for Post-Repair Waterproofing
Many Seattle homeowners rely on expert chimney repair in Seattle for exactly this.
- Account for Seattle’s microclimate variation: chimneys on the north or west faces of homes in neighborhoods like Ballard, Beacon Hill, or the Central District receive less direct sun and stay damp longer than south-facing surfaces, which affects how quickly repellents cure and how often reapplication is needed.
- Note that many Seattle homes built before the 1960s used a softer, lime-based mortar that is more water-absorbent than modern Portland cement mixes; if your home falls in this category, confirm that any repellent product is compatible with lime mortar chemistry.
- Be aware that Seattle’s building stock includes a high proportion of Craftsman bungalows and mid-century homes with chimneys that were designed for wood-burning use but have since been converted to gas inserts; these conversions sometimes leave the original clay flue liner in place without relining, creating gaps where water can enter.
- Recognize that moss and lichen growth is aggressive in Seattle’s urban tree canopy; a post-repair treatment with a masonry-safe biocide, followed by the water repellent, reduces the rate of organic regrowth that would otherwise trap moisture against the brick face.
- Understand that Seattle’s seismic activity (the region sits near the Cascadia Subduction Zone and several local fault lines) means masonry chimneys can develop hairline cracks from minor ground movement that are nearly invisible but open enough to admit water; a professional chimney repair Seattle inspection every few years catches these before they become structural issues.
- Check local permit requirements before undertaking significant crown reconstruction or flashing work; Seattle’s Department of Construction and Inspections has specific guidance on masonry work, and requirements can vary depending on the scope. Always confirm current requirements with a licensed contractor or the city directly.
7. Seasonal Maintenance Checklist for Seattle Chimneys
- Inspect the chimney cap and crown visually from the ground using binoculars each fall before the rainy season begins, looking for shifted caps, new cracks, or debris accumulation.
- Clear any leaves, pine needles, or moss growth from the base of the chimney where it meets the roof; organic debris holds moisture against the flashing and accelerates rust and mortar erosion.
- Check interior water stains in the firebox and on the smoke shelf after the first major rain event of the season; new staining that was not present before the repair indicates a remaining or new entry point.
- Schedule a professional chimney inspection annually, ideally in late summer or early fall, so any issues identified can be addressed before Seattle’s wet season arrives in earnest.
- Review the signs that Seattle chimney mortar needs attention checklist each spring to catch new joint deterioration before it advances through another wet winter.
- Keep a simple log of when repairs were made, what products were applied, and when the next repellent reapplication is due; this makes it easier to track whether a new stain is a product failure or a new structural issue.
- After any seismic event strong enough to feel inside the home, do a visual inspection of the chimney exterior and firebox interior before using the fireplace again.
8. Knowing When Waterproofing Is Not Enough
- Recognize that water repellents and caps are maintenance tools, not substitutes for structural repair; if the underlying masonry is actively spalling, leaning, or showing wide cracks, surface treatments will not hold.
- Understand that repeated efflorescence (white salt deposits on the brick face) after waterproofing indicates moisture is still moving through the masonry from inside, which points to a liner or interior moisture issue rather than a surface problem.
- Consult a professional if water stains appear on interior walls or ceilings near the chimney; this level of intrusion suggests flashing failure or structural gaps that require hands-on diagnosis.
- Consider a tuckpointing versus partial rebuild evaluation if more than 20 percent of the mortar joints in a section show deterioration; at that point, applying a repellent over failing joints delays but does not prevent more significant repair costs.
- Use the information in what drives chimney repair costs in Seattle to understand how the scope of waterproofing and cap work fits into the broader repair budget before prioritizing tasks.
- Do not use the fireplace if active water intrusion is occurring; water in the firebox or on the smoke shelf can combine with creosote deposits to create acidic compounds that accelerate liner and masonry deterioration.
Ready for the next step? Learn how chimney repair services in Seattle can help and reach out to the team.
Frequently Asked Questions
How soon after a masonry repair can I waterproof my Seattle chimney?
Most repair mortars need a full cure before a water repellent is applied, typically at least 28 days under normal conditions. In Seattle’s cooler, wetter fall and winter months, cure times can run longer. Applying a repellent too early traps moisture inside the joint and can cause the mortar to crack or spall prematurely, so patience here protects the repair investment.
Do I really need a chimney cap if the crown is already in good condition?
A sound crown and a chimney cap serve different purposes and work best together. The crown sheds water away from the flue collar and the top course of masonry, while the cap keeps rain, debris, birds, and animals from entering the flue directly. In Seattle’s climate, where sustained rainfall is the norm for months at a time, relying on only one of the two leaves a meaningful gap in water protection.
Can I apply masonry waterproofing myself, or does it need a professional?
Applying a vapor-permeable water repellent to accessible masonry is a task some homeowners handle themselves, provided the surface has been properly cleaned and the repair mortar has fully cured. However, anything that requires working at roof height, inspecting flashing, or evaluating the crown and cap should involve a professional. The risk of a missed entry point, or a fall, outweighs the savings of a DIY approach for those portions of the work.
Finishing a chimney repair in Seattle is the beginning of a maintenance cycle, not the end of one. A correctly installed cap, a breathable water repellent applied at the right time, and a consistent seasonal inspection routine give repaired masonry the best chance of holding up through the Pacific Northwest’s long, wet winters. For the structural assessment that should come before any of this waterproofing work, see the complete chimney repair Seattle guide to make sure the underlying masonry is sound before you seal it. Ready to schedule that inspection or discuss post-repair waterproofing options? Contact Nation Wide Chimney Sweep and Repair to set up a visit.